How To Create Multiple Mind Maps In One
We’re letting you in on a little secret…
Have you ever wanted to create multiple maps in MindGenius but haven’t been able to figure out how? Well, guess what, we’re going to show you.
Headings and a Little Formatting
First things first, type up 2, 3, 4, 5… however many maps you want to have within your map. From there you will use clever styling and formatting to make it appear that your map has multiple maps in 1.
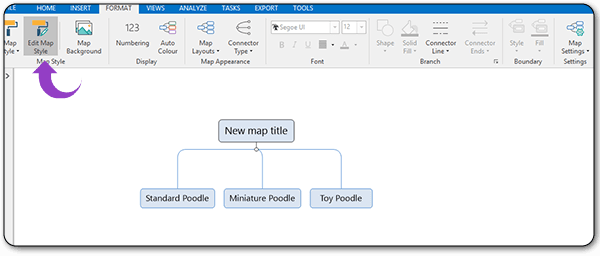
1. Type your headings
2. Select the ‘Format’ tab
3. Select ‘Edit Map Style’
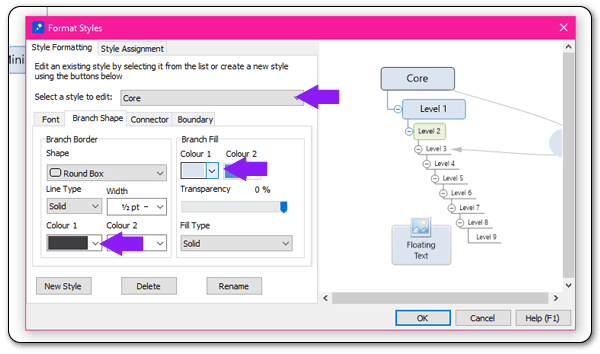
4. Select the ‘Branch Shape’ tab
5. Set ‘Select a style to edit’ to ‘Core’
6. Change ‘Branch Border Colour 1’ to ‘None’
7. Set ‘Branch Fill Colour 1’ to ‘None’
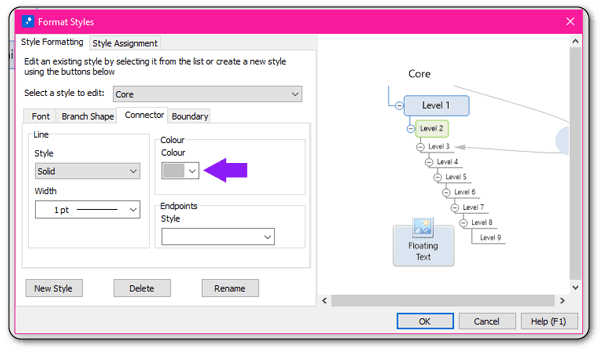
8. Select the ‘Connector’ tab
9. Set ‘Colour’ to ‘None’
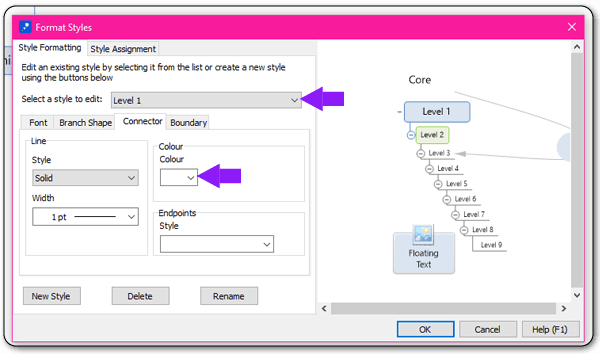
10. Change ‘Select a style to edit’ to ‘Level 1’
11. Select ‘Connector’ tab
12. Set ‘Colour’ to ‘None’
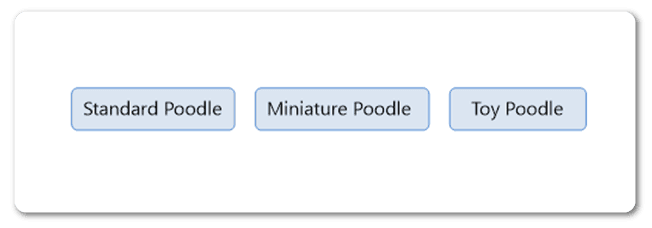
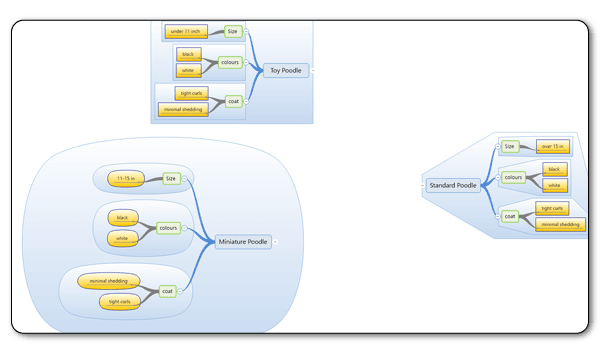
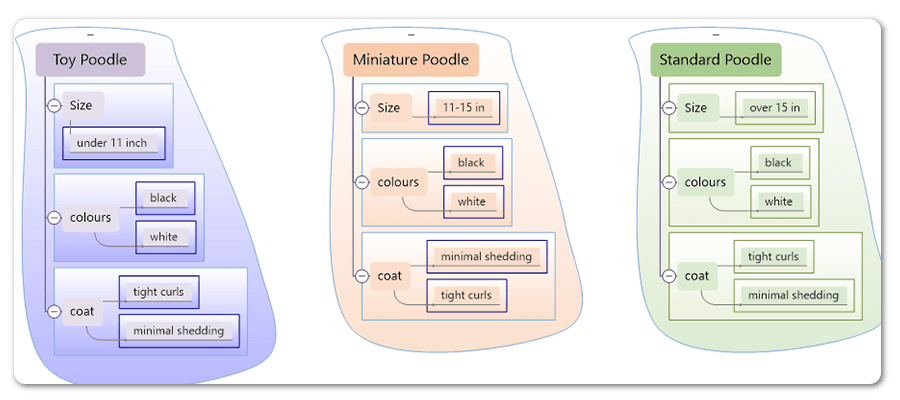
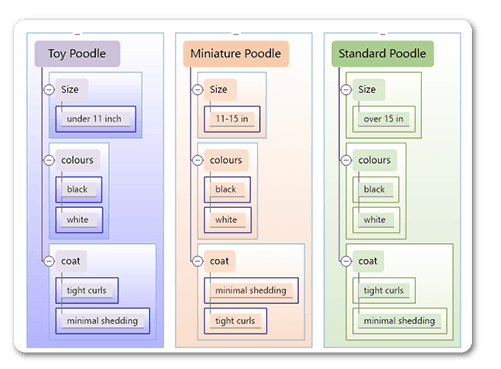
Your map should look something like this:
Fill It Out and Style It Up
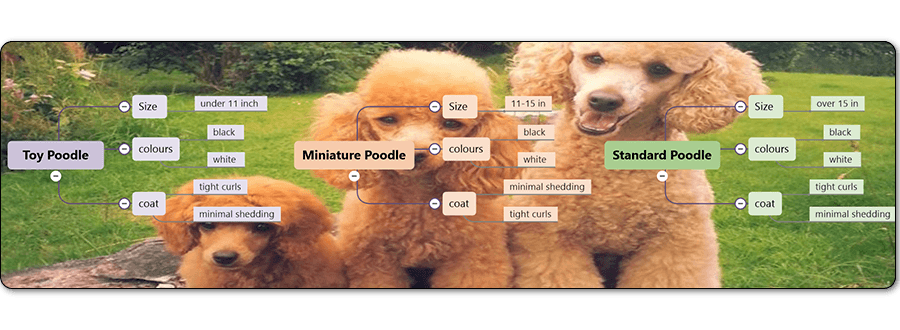
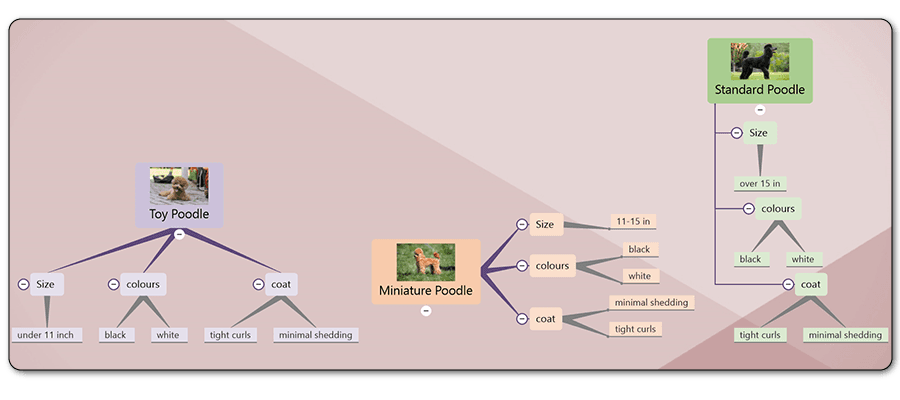
From here you can treat your maps the same as you would treat a large MindGenius 2018 map on it’s own. Add images, attachments, videos and borders as normal. Remember you can add styling to the branches, text, connectors, boarders and a background to jazz up your maps and bring them to life.
You can also play around with general and local map layouts to produce a different look for each map. This just adds to the illusion that there are multiple maps in your MindGenius 2018 document.

